A lot of people are perfectly fine with just entering one lineup into a contest. However, if you want to diversify your lineups or just enter the same lineup multiple times, there is a simple and easy way to do that: entering contests via CSV. We will break down how to do exactly that.
Below, you will see a screenshot of an NBA lobby. You can very well enter one lineup from this screen, but you can also start creating multiple lineups to be added all at once.
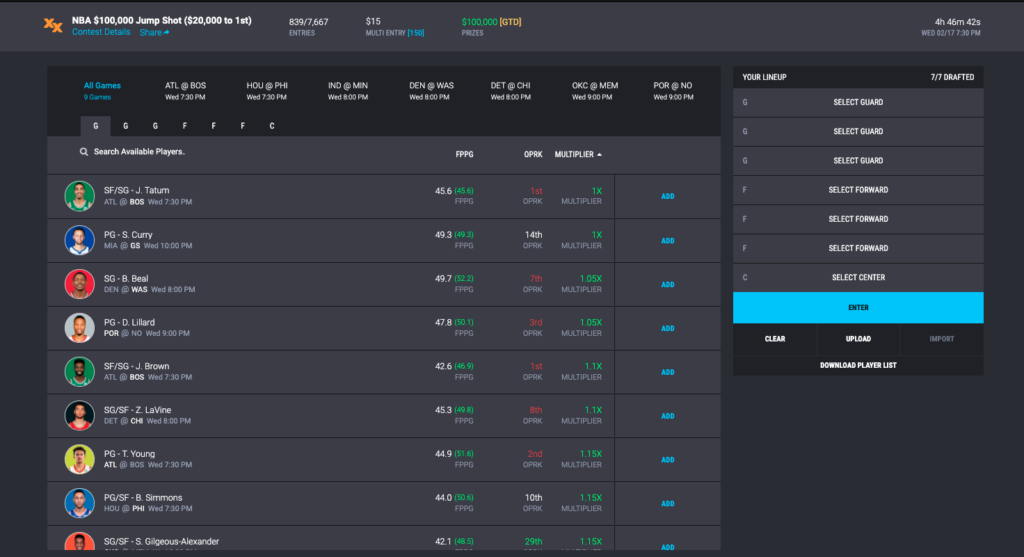
To start this process, all you have to do is press the “UPLOAD” button located underneath the “ENTER” button. Doing so will prompt you with the popup shown below.
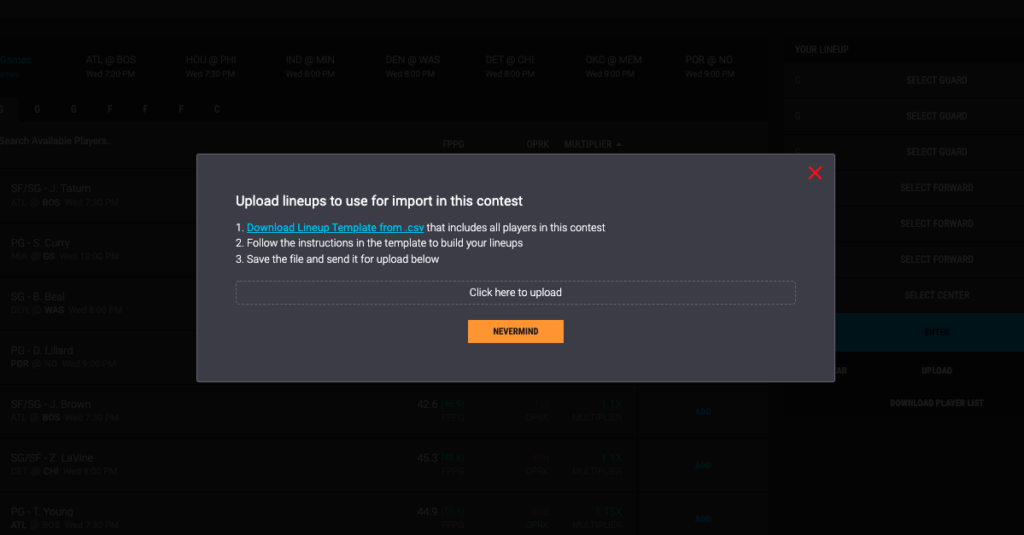
From here, it is as easy as clicking on the link that says “Download Lineup Template from .csv” Once you have downloaded this, this will be sent to the “Downloads” folder on your laptop or desktop computer.
When opening this up, you will see the following Excel spreadsheet. On the left, you will see all of the position requirements to successfully upload a lineup. On the right is where you will see the instructions as follows:
| 1) Create a lineup by inserting any player from this list into their lineup position columns |
| 2) Paste either the ID+Name or ID from their respective columns |
| 3) All other information will be ignored on upload |
| 4) Maximum 500 lineups per upload |
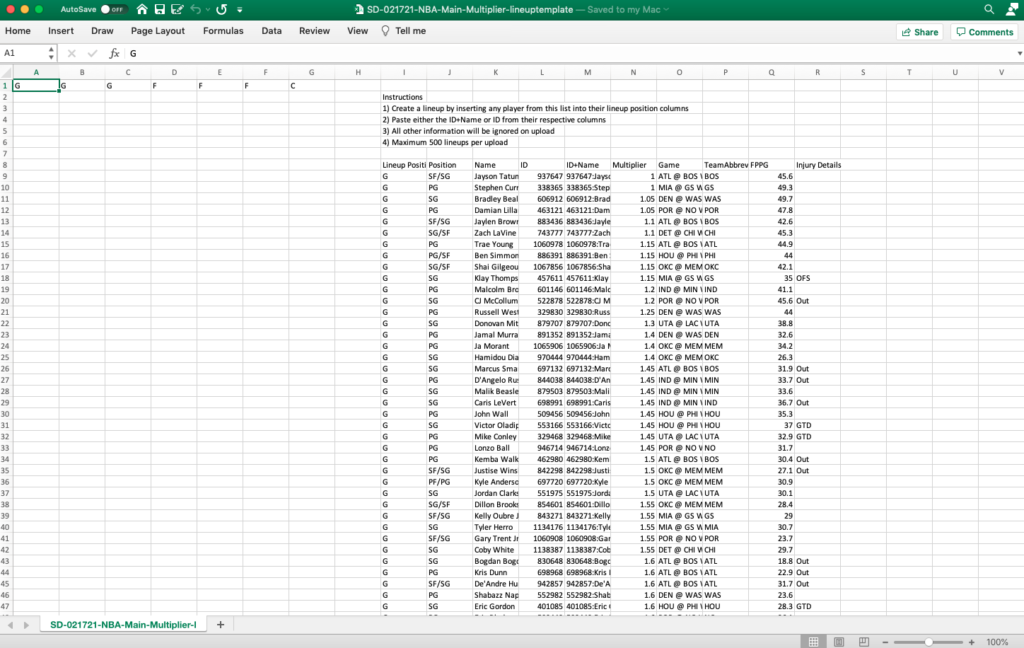
You will also see the players’ Position, Name, ID, Multiplier, Team, Game, Fantasy points per game and any injury details you may need to know at the time that you dowloaded the list. Now, let’s make a few lineups.

Above is a screenshot showing five lineups using both the ID & Player name shown in column “M” – some like to use this to have the player visible when making edits. However, it can be a bit clunky to have all of that info on the spreadsheet. If you feel that way, the player’s ID can be used to stand alone as shown in the below screenshot. This appears much more organized on the screen.

One of the more common errors we see is when someone leaves empty rows in between lineups. This will not work when attempting to enter a contest and you will receive an error message when trying to do so.

After you have completed your lineups (not like the ones directly above) you are free to save this spreadsheet now. I would recommend saving them as the name of the contest as well as the date to keep yourself organized.
Now you are ready to upload these lineups and enter them into a contest. At this time you would go back to the contest draftgroup and click the upload button we mentioned in a previous step – only this time you will press “Click here to upload”
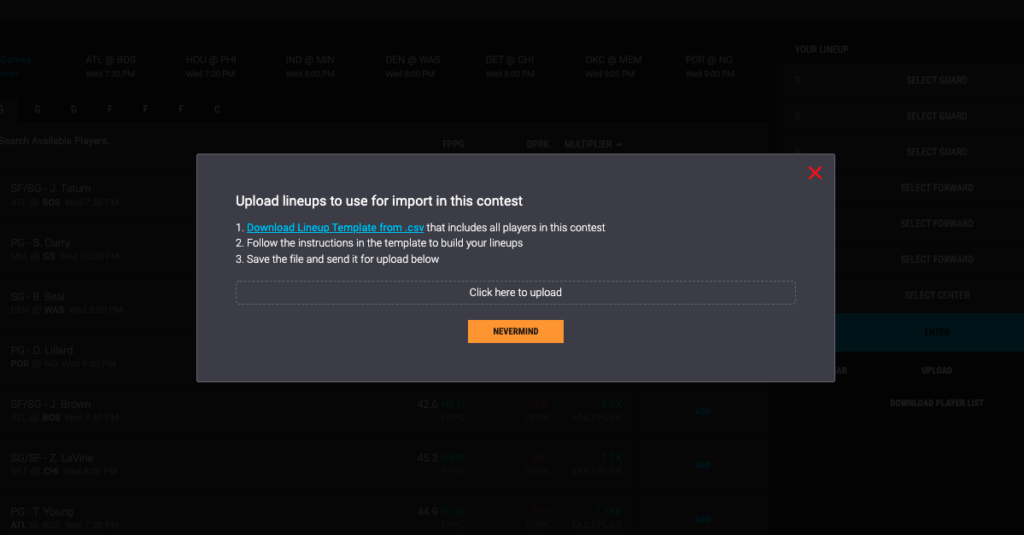
After you select the csv file of the lineups and if you have completed all of the steps correctly, you will see this screenshot below.
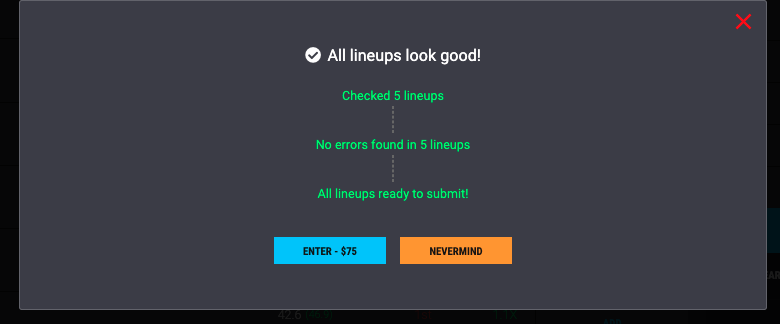
Congrats! You have successfully uploaded multiple lineups using a CSV – how does it feel?! Now, go win the big one!
Ready to put the CSV upload to the test? Click here!
If you have any questions on any part of this process, please use this the link below. We would be more than happy to answer any questions or concerns you may have!


